In case of problems contact: jean.radig@uni-heidelberg.de
In total we will be able to use 4 workstations with 128GB of RAM and 32vCPU cores each. Each station has a NVIDIA T4 GPU. These workstations are shared by all teams, so please be mindful of the compute power needed by your scripts. All workstations come with CUDA pre-installed, so you should be able to use the GPUs in your script without needing to install any drivers.
Each node features a 500GB disk, where all your data can be saved.
The nodes are not configured as a cluster so you will only be able to use one GPU at a time. You will also only be assigned to one node in the beginning, which will be the only one you have access to. We try our best to balance the number of teams per node, in order to limit the computational strain.
To gain access to the nodes, generate an ssh key pair and send the public key to jean.radig@uni-heidelberg.de along with your name and project so we can create your user account and add the ssh key to your account. You will receive an e-mail listing the IP address to the node you were assigned to. Please be mindful of the resources and try to limit the amount of users per team to a minimum. As only one GPU is available per node anyway, only a limited amount of users can work at the same time.
ssh 'YOUR_USERNAME@IP_ADRESS_FROM_EMAIL' -p "PORT_FROM_EMAIL" -i path/to/your/private/key/file
You will get asked whether to trust the server, when first connecting. Accept it by typing in yes.
If you are working with the servers there are 3 key elements:
There is one large volume per node, where you can store your data. This is also where your home directories are located under ‘home’. You can find this volume under:
cd /vol/workspace
cd /vol/workspace/home/YOUR_USERNAME # Your own home directory
All files, code and data, for your project should be stored on this volume! As the volumes are persistent and can be attached and detached from different machines. Avoid storing data on the machines disk at all cost as it is only 20GB in size!
If you need to share files with other people on the same node, make sure to assign the access rights for the files and directories correctly:
chmod -v 660 FILENAME # owner and group can read and write - all others not
chmod -v 666 FILENAME # everyone can read and write
chmod -v 640 FILENAME # owner can read and write - group only read
More information can be found here: https://linuxize.com/post/chmod-command-in-linux/
Later you will need the path to your projects folder to mount it as a volume to your docker container. You can get the path by cd-ing into your project directory and running:
pwd
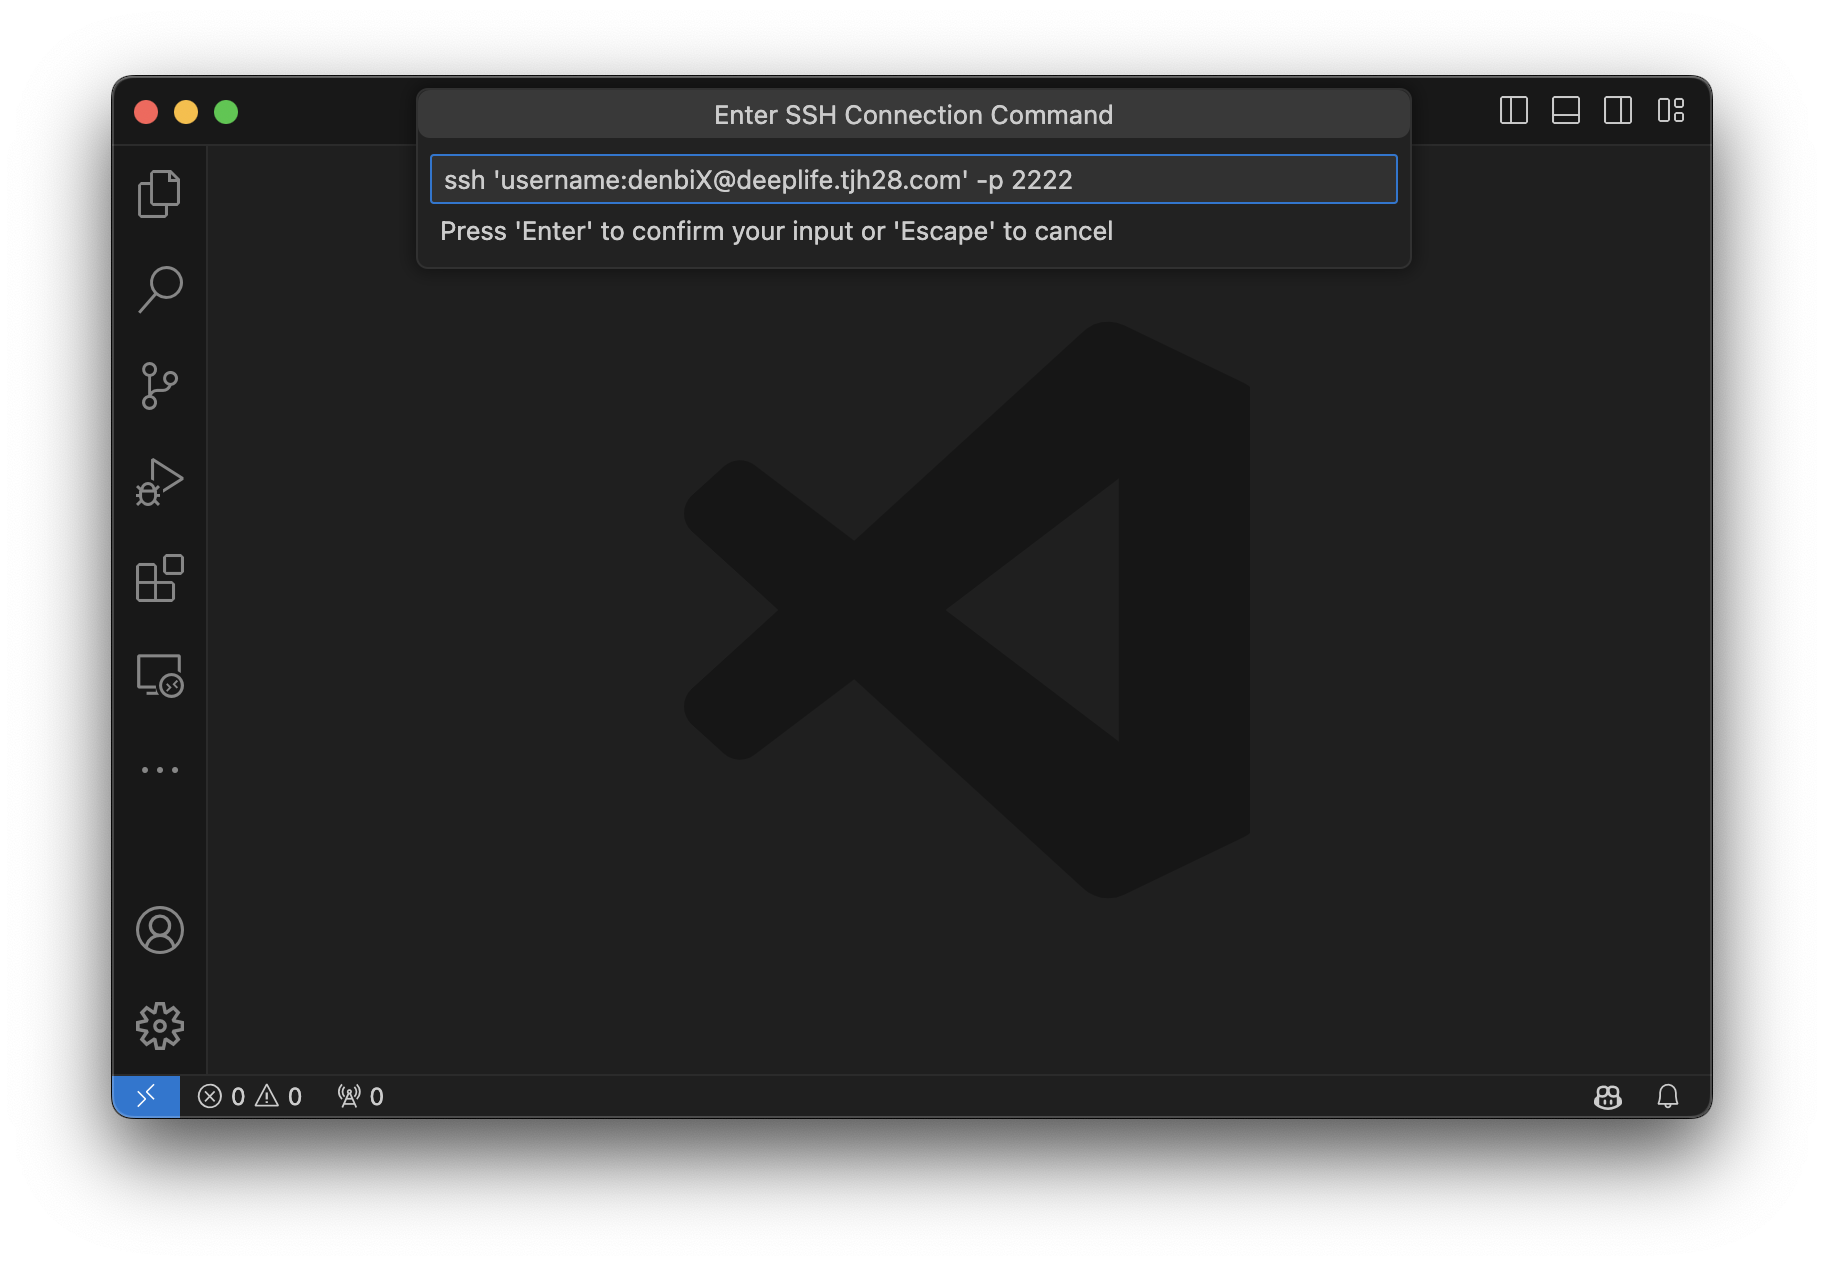
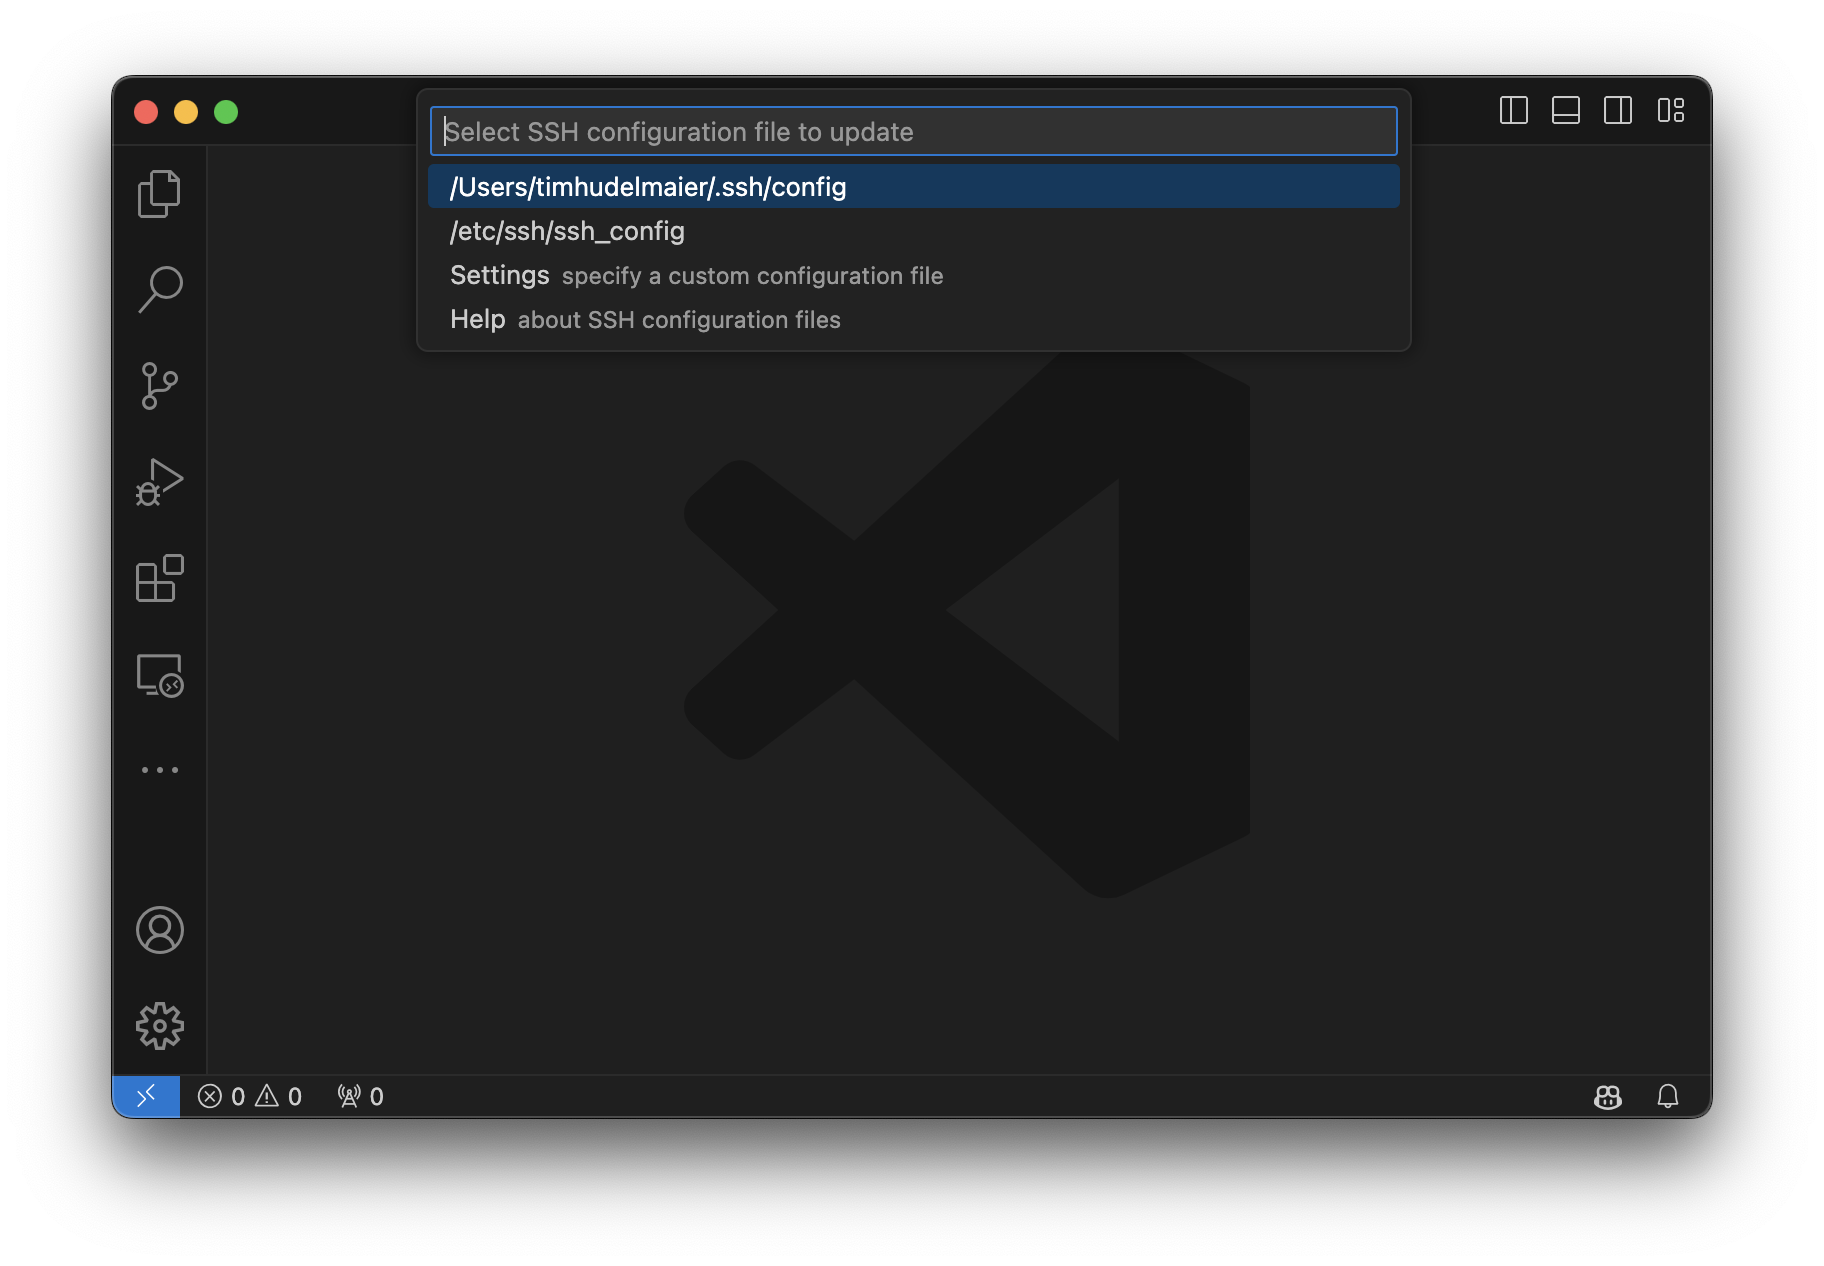
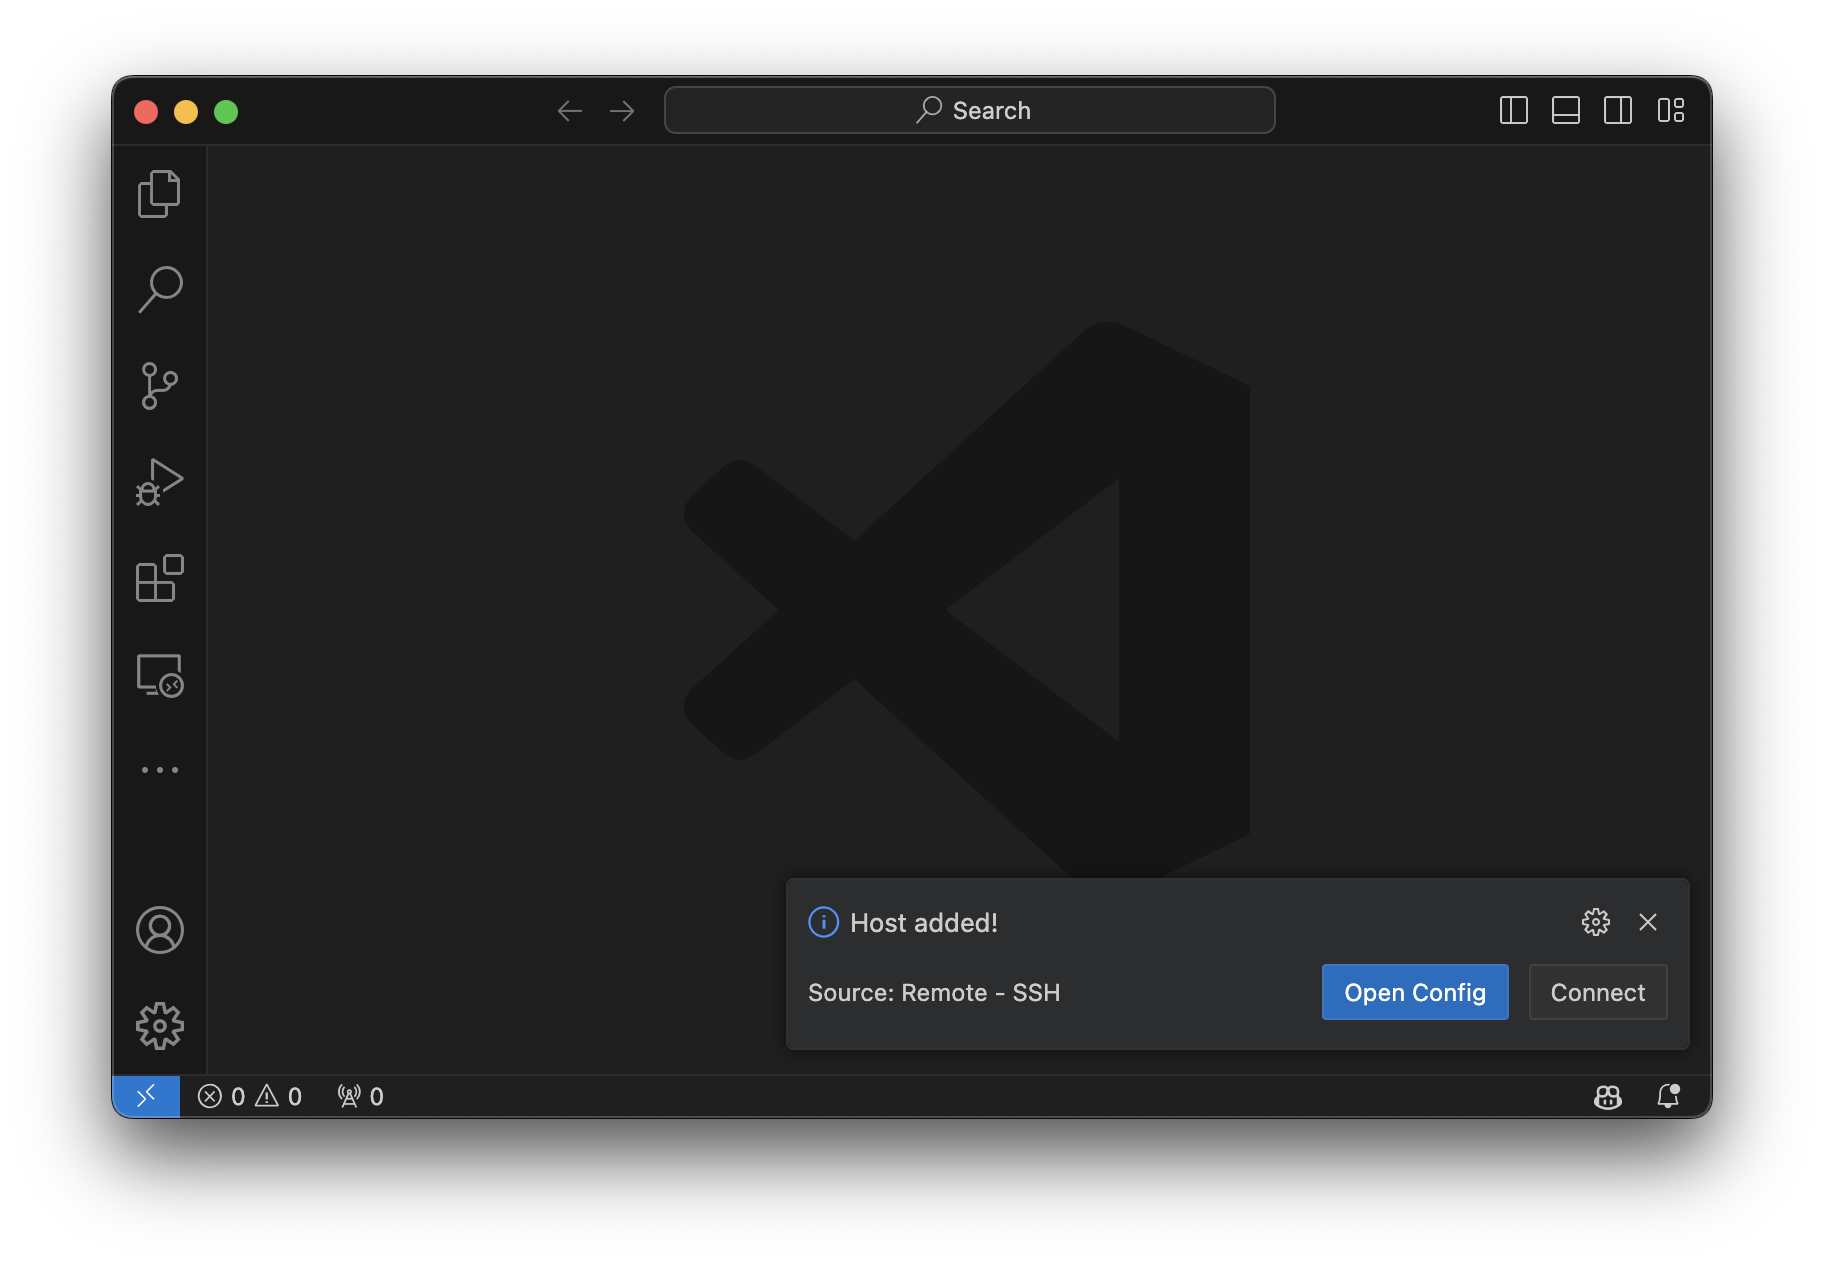
Follow these steps to connect to your server on VS Code:
  Host give_your_host_a_name
    HostName IP_of_your_node
    User username
    Port Port_from_email
    IdentityFile ~/path/to/you/private/key
The path to the identity file will likely look something like this: ~/.ssh/key_name. If you did not put a custom path during the generation of the key-pair and are using a UNIX-like OS (MacOS / Linux), the ssh command should find the file automatically.
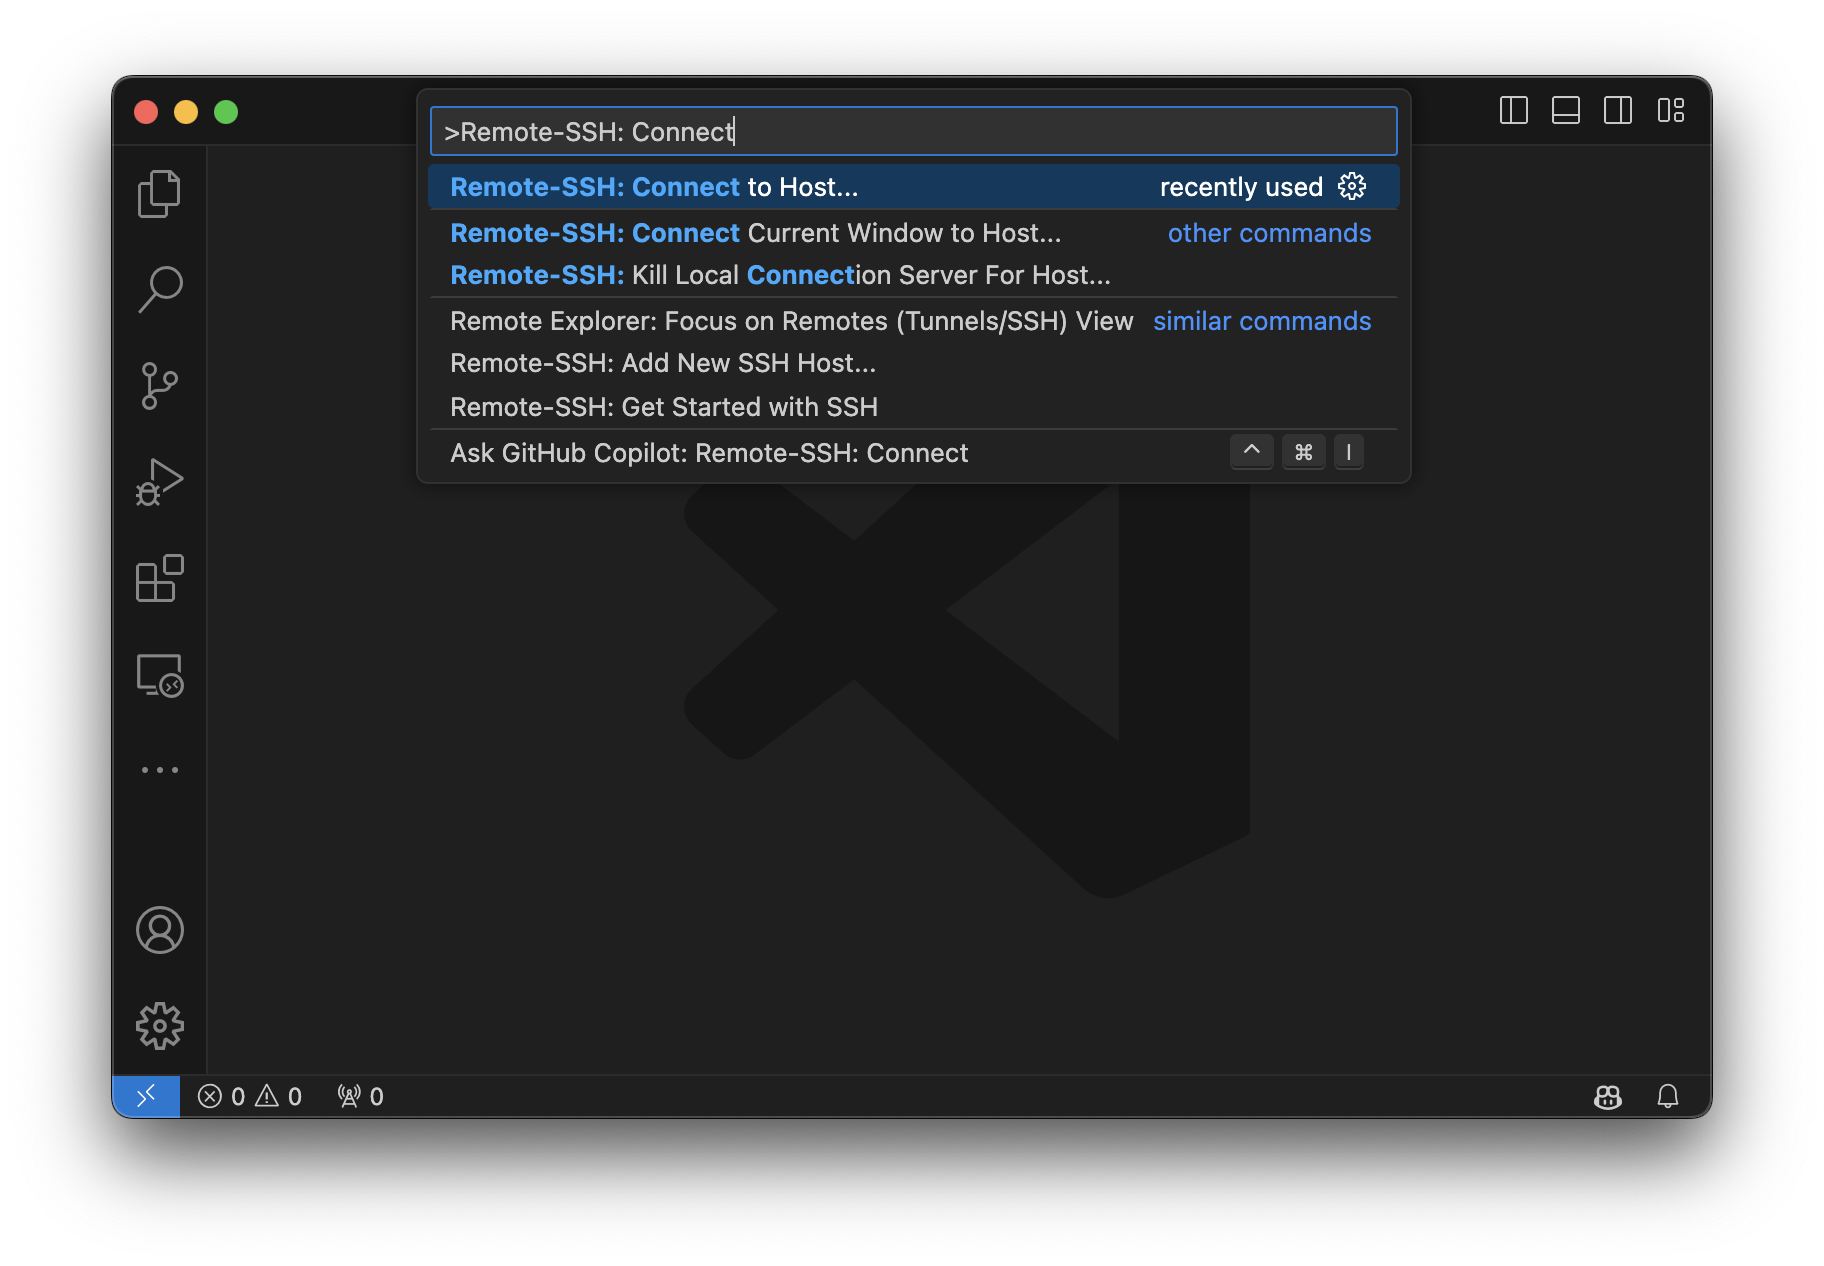
Then you can finally connect to your host by running CMD + SHIFT + P > Remote-SSH: Connect to Host and selecting your HostName.
The usage of TMUX is very simple. The first time you use the terminal you can create a new session by running:
tmux new -s session_name
Tmux will then start automatically. You can detach from your session by running:
tmux detach
If you want to attach to your session again at a later point use:
tmux a -t session_name
a great TMUX cheat sheet can also be found here: https://tmuxcheatsheet.com
To isolate each projects runtime we will be using Docker. To get your relevant dependencies you can pull pre-made Docker images (with pytorch etc. already installed) from the Docker Hub. If you have to use python and corresponding libraries please only work inside docker containers and only install python libraries inside of containers. The space on the cluster is very limited, so we rely on docker containers to keep it tidy.
First check if the image your want to use is already available:
docker images
If none of the already installed images matches your requirements your can pull an image using:
docker pull pytorch/pytorch
Finally start your container using
docker run --network host --gpus all --rm -it -v /vol/workspace/volume/path/to/your/project/:$HOME pytorch/pytorch /bin/bash
this will start a container and push you to the bash of that container so you can now call and execute your scripts.
The flag -rm is optional. If this flag is set, then the container will automatically be deleted after you exit from the container.
The -vflag is used to attach a volume (your project directory) to the container so it can access your scripts and your data.
Do not forget to use tmux when working with your containers to avoid the container closing and loosing your progress.
Please do not install python and try to run scripts on the workstation itself! Always use Docker. Inside of the docker container, you can install all missing packages you need (e.g. using pip).
You can check if your container is running as follows:
docker ps
If you prefer to work on the workstation as you would on your local machine (i.e. using jupyter notebooks and debugging in VSCode) you can also create a devcontainer.
This is also just a docker container you can connect to within VSCode so all code you run will be run inside this container, again isolating your environment.
To use devcontainers within your team sub-folder create a directory: .devcontainer
mkdir .devcontainer
Within the directory create a file: devcontainer.json
{
  // Set the name of the devcontainer
  "name": "projectX-groupXYZ",

  // // VSCODE installs a vscode-server on top of the created custom image.
  "image": "pytorch/pytorch:latest",

  // Or use a Dockerfile or Docker Compose file. More info: https://containers.dev/guide/dockerfile
  // "build": {
  // Path is relative to the devcontainer.json file.
  // "dockerfile": "Dockerfile"
  // },

  // Specify under which name the devcontainer should be run and which GPUs to use
  "runArgs": ["--name", "dev_yourname", "--gpus", "all", , "--network", "host"],

  // Specify where workspace directory is mounted in the devcontainer
  "workspaceMount": "source=${localWorkspaceFolder},target=/workspace,type=bind",
  "workspaceFolder": "/workspace",

  // Add vscode extensions (they will be installed to the container home directory)
  "customizations": {
    "vscode": {
      "extensions": [
        "ms-python.python",
        "ms-python.vscode-pylance",
        "ms-toolsai.jupyter", // enable Python Interactive Window with (#%%)
        "ms-python.black-formatter"
      ]
    }
  }
}
Open your team subfolder in VSCode via: File > Open Folder. This step is important so your devcontainer will use your teams config.
Now you can start to develop in your devcontainer by running: CMD + SHIFT + P > Reopen in Container. VSCode will now take care of the heavy lifting and will start your container for you!